
A sagging, leaning, or broken fence doesn’t always mean a full replacement — most fence repair jobs are well within a DIYer’s reach. The most common fence problems — leaning posts, cracked panels, sagging gates, and rusted hardware — can be fixed for $20 to $200 in materials and a weekend of work, compared to $1,500–$4,000 for a professional fence replacement. The key is knowing which repair matches which problem: a leaning wood post usually needs a concrete spur or new footing, a broken panel can be swapped board-by-board, and a sagging gate often just needs new hinges or a turnbuckle.
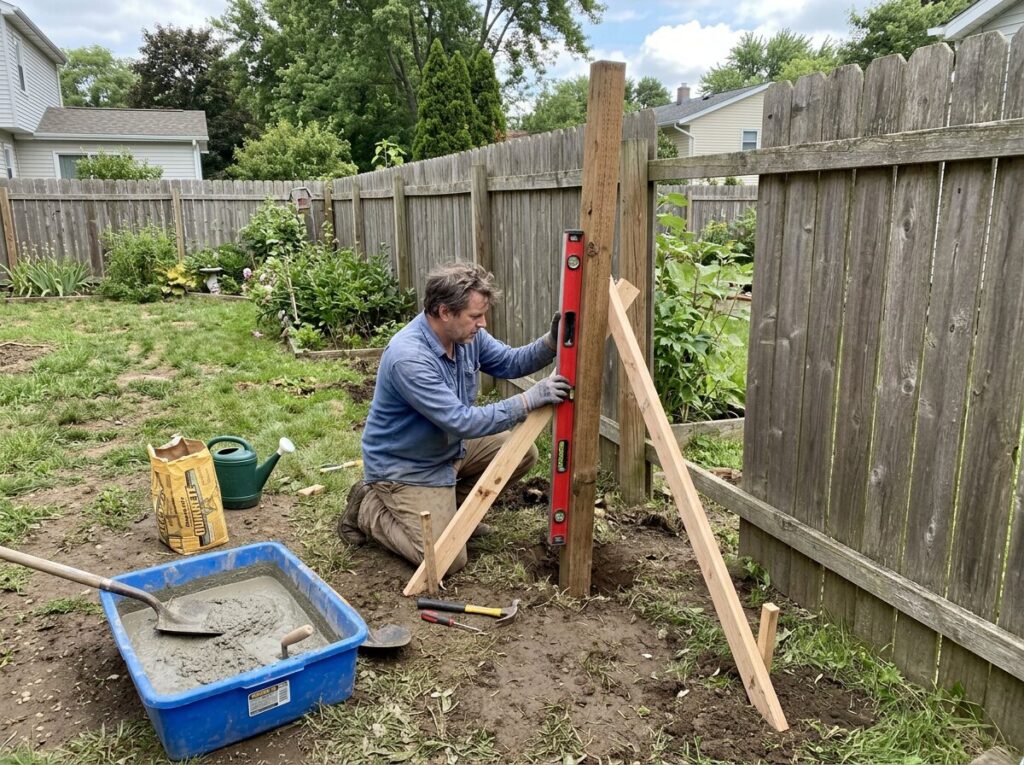
Fences take a beating from weather, soil movement, and everyday use. Over time, posts rot at the ground line, panels crack from impacts or wind, gates sag under their own weight, and hardware corrodes. The good news: you can fix nearly all of it yourself with basic tools and readily available materials.
Step 1: Assessing Fence Damage
Before grabbing tools, walk the entire fence line and diagnose each problem.
Leaning Fence
A leaning fence section almost always points to a failed post. Check whether individual posts are loose in the ground, cracked at the base, or visibly rotted. A post that wiggles when you push it has lost its concrete footing or rotted through below grade.
Broken or Missing Boards
Individual boards crack from impacts, age, or moisture cycling. If the rails (horizontal supports) are intact, you can replace just the boards. If the rails are broken too, you’ll need to replace the panel section.
Sagging Gate
Gates sag because hinges loosen, the gate frame warps, or the post holding it leans. Start by checking the hinges — if they’re solid, the frame or post is the issue.
Rot and Insect Damage
Probe wood posts at the ground line with a screwdriver. If the tip sinks in easily, the wood is rotted and the post needs replacement. Look for termite or carpenter ant activity in soft areas.
Materials & Tools Needed
- Fence Post Repair Kit / Concrete Spur — reinforces a broken post without digging it out
- Replacement Fence Panels (wood or vinyl)
- Gate Hardware Kit (hinges, latch)
- Post Hole Digger
- Concrete Mix (fast-setting)
- Turnbuckle (for gate sag repair)
- Level (2-foot or 4-foot)
- Cordless Drill / Impact Driver
- Circular Saw or Reciprocating Saw
- Pry Bar, Hammer, Tape Measure
- Deck Screws or Galvanized Nails
- Safety Glasses and Work Gloves
Repair 1: Fixing a Leaning Fence Post
A leaning post is the most common fence problem, and there are three ways to fix it depending on severity.
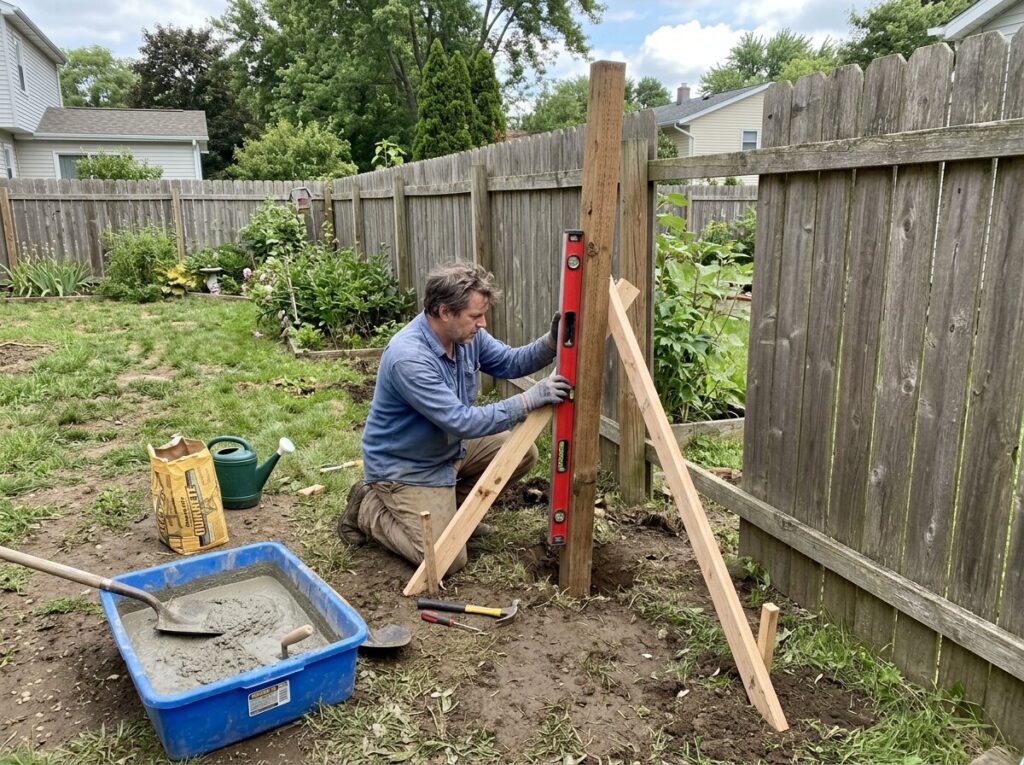
Option A: Reset in Concrete (Post Is Sound but Footing Failed)
- Dig out the post. Excavate around the base, removing loose concrete and soil down to 24 inches deep.
- Plumb the post. Brace it straight with temporary 2×4 stakes on two sides. Check with a level.
- Pour concrete. Fill the hole with fast-setting concrete to 2 inches above grade, sloped away for drainage.
- Let it cure. Fast-setting concrete is load-ready in 4–6 hours; wait 24 hours before removing braces.
Option B: Concrete Post Spur (Post Is Cracked at Ground Line)
- Dig a hole 18–24 inches deep, 6 inches away from the damaged post.
- Set a 2-foot section of treated 4×4 (the spur) in the hole, plumbed and aligned with the fence line.
- Bolt the spur to the original post using galvanized carriage bolts (two minimum, staggered).
- Pour concrete around the spur and let it cure.
Option C: Full Post Replacement (Post Is Rotted Through)
- Remove the old post and break up the old concrete with a digging bar.
- Detach the fence panels and support them temporarily.
- Set the new post in a hole 24–30 inches deep (below frost line in cold climates) with 6 inches of gravel for drainage; plumb, brace, and pour concrete.
- Reattach panels once concrete cures (24 hours minimum).
Repair 2: Replacing Broken Fence Panels
If a rail or picket section is damaged but the posts are solid, you can replace just the affected panel.
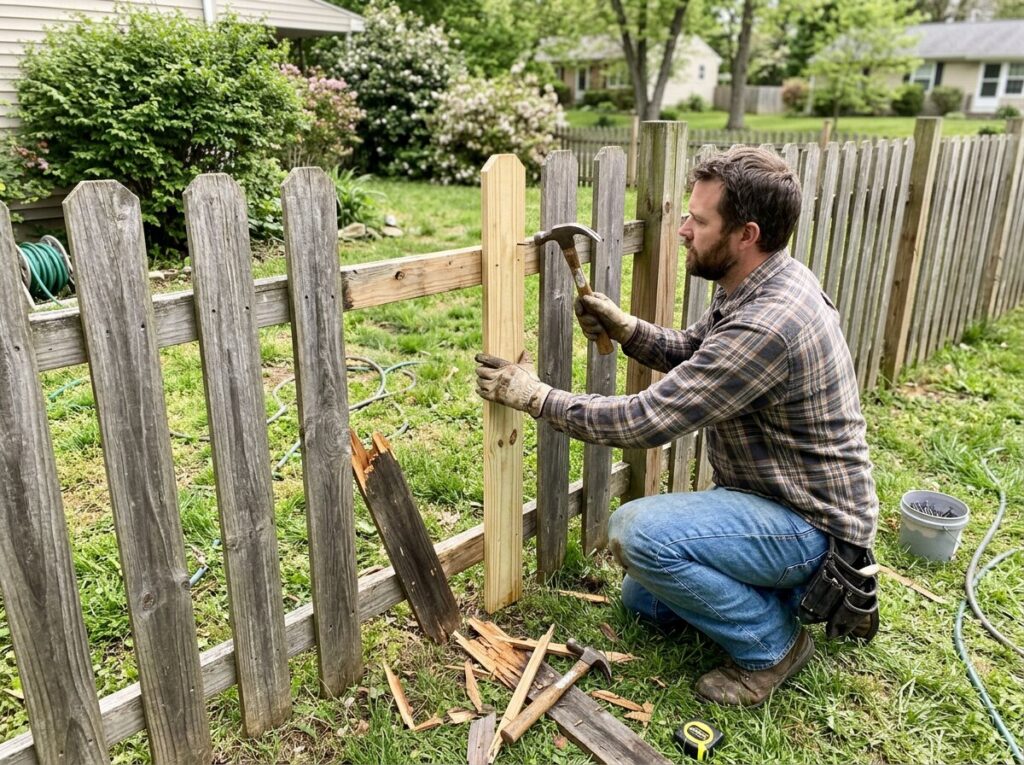
Replacing Individual Pickets
- Pry off the broken picket with a pry bar, pulling the old nails or screws.
- Inspect the rail; if it’s also damaged, replace it first.
- Cut a new picket to match the existing board dimensions and height.
- Attach with deck screws or galvanized nails, spacing to match the rest of the fence.
Replacing a Broken Rail
- Remove fasteners holding the rail to the posts and pickets.
- Cut a new rail from pressure-treated 2×4 lumber, sized to span between posts.
- Toe-screw or use rail brackets to attach the new rail to the posts.
- Reattach pickets to the new rail.
Replacing a Whole Panel Section
- Remove all pickets and rails between the posts.
- Install new 2×4 rails (top, bottom, and middle if the fence is tall).
- Attach new pickets, spacing evenly with a gap block for consistency.
Repair 3: Fixing a Sagging Gate
Sagging gates are frustrating but usually easy to fix. The cause is almost always loose hinges, a warped frame, or a leaning post.
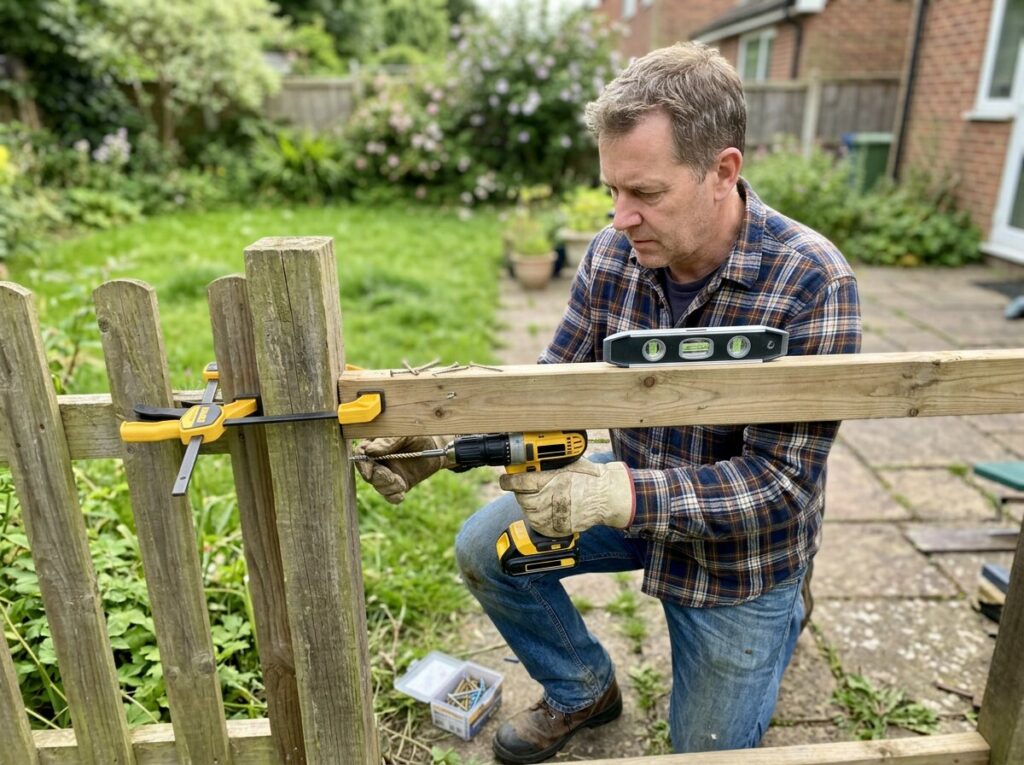
Fix 1: Tighten or Replace Hinges
Check that hinge screws are tight. If they’ve stripped in the wood, fill the holes with wood glue and dowels, then re-drill. If hinges are bent or rusted, replace with heavy-duty galvanized or stainless hinges. For lag-style hinges, use longer lag bolts if the post has soft spots.
Fix 2: Install a Turnbuckle Anti-Sag Kit
- Install a corner bracket at the top hinge side and the bottom latch side of the gate.
- Run the turnbuckle cable diagonally between them.
- Tighten the turnbuckle until the gate is square and the latch aligns.
This is one of the highest-ROI fence repairs — a $15–$25 kit fixes most sagging gates.
Fix 3: Straighten the Gate Post
If the post holding the gate has leaned, the gate won’t hang right no matter what you do with the hardware. Fix the post first (see Repair 1, Option A or C), then rehang the gate.
Fix 4: Add a Gate Wheel
For heavy, wide gates, a wheel on the latch side carries the weight and prevents sag. Bolt a gate wheel bracket to the bottom of the latch-side corner.
Repair 4: Hardware Replacement
Rusted, bent, or missing hardware is the simplest fence repair. Common replacements:
- Gate hinges — replace with heavy-duty galvanized or stainless versions.
- Gate latches — upgrade to a self-latching or keyed latch for security and convenience.
- Fence brackets — if rail-to-post brackets have corroded, swap with galvanized versions.
- Nails and screws — replace rusting fasteners with stainless or coated deck screws.
Comparing Wood vs. Vinyl Fence Repairs
The repair approach differs by material. The infographic below summarizes the key differences.
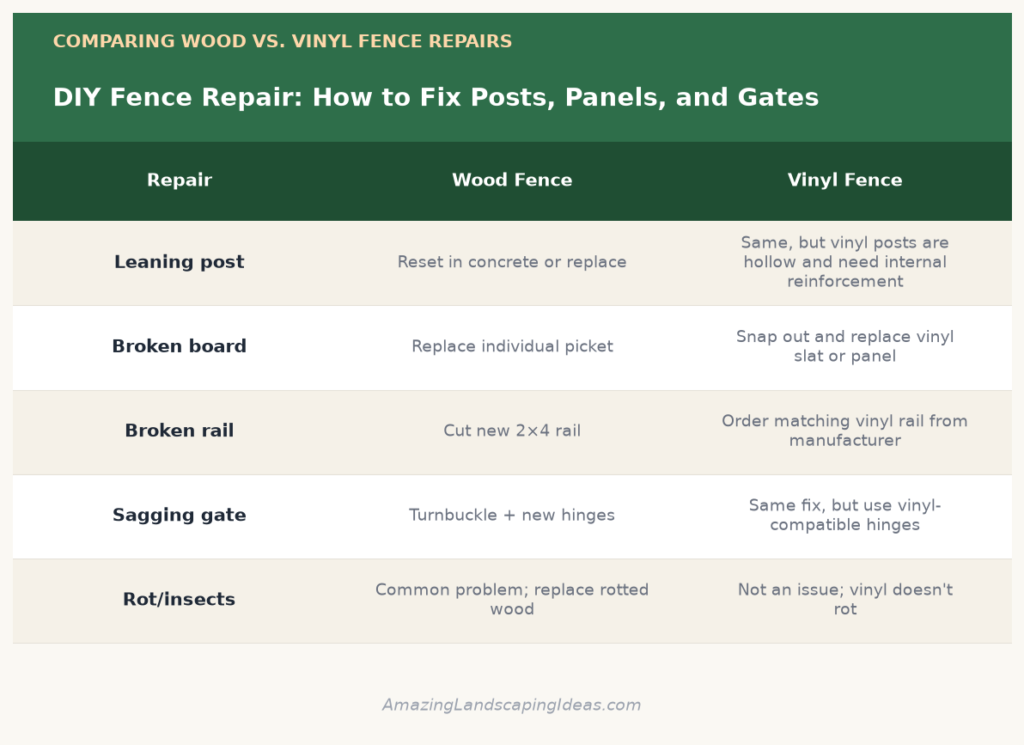
Vinyl is lower-maintenance long-term, but replacement parts are often proprietary — order from the original manufacturer for a color match.
Climate and Geographic Considerations
Wet and Humid Climates (Southeast, Pacific Northwest)
Wood posts rot fastest where soil stays wet. Use pressure-treated posts rated for ground contact, set in concrete that slopes away from the wood. Consider metal post anchors that keep wood out of direct soil contact. Stainless steel hardware resists corrosion in salt-prone coastal areas.
Freeze-Thaw Climates (Northeast, Midwest)
Frost heave lifts posts out of the ground over time. Dig post holes below the local frost line (often 36–48 inches deep) and flare the bottom of the hole so heave can’t push the post up. Use gravel at the bottom for drainage.
Dry, Hot Climates (Southwest)
Wood checks and cracks from heat and dryness. Cedar and redwood hold up better than pine. Keep fasteners tight — loose boards vibrate in wind and crack faster. Vinyl can become brittle in extreme heat; choose UV-stabilized vinyl.
When to Call a Pro
DIY fence repair is very achievable, but some situations call for a professional:
- Multiple posts failed along a long run — a sign of systemic soil or drainage problems
- Property line disputes — surveying and legal issues need professional handling
- Large sections (20+ feet) need replacement
- Fence is on a steep slope or retaining wall
- You’re replacing a fence entirely
- Masonry or metal fences — concrete, brick, and wrought iron repairs need specialized skills
A pro charges $50–$100 per hour or $300–$800 for typical repair jobs. For a single failed post or gate, DIY is almost always the better call.
Final Thoughts
Most fence repairs are straightforward weekend projects. Assess the damage carefully, match the repair to the problem — concrete footing for leaning posts, board replacement for broken panels, turnbuckle kits for sagging gates — and use quality, weather-rated hardware. A well-repaired fence can easily give you another 10–15 years of service before a full replacement is warranted, saving you thousands compared to a new installation.