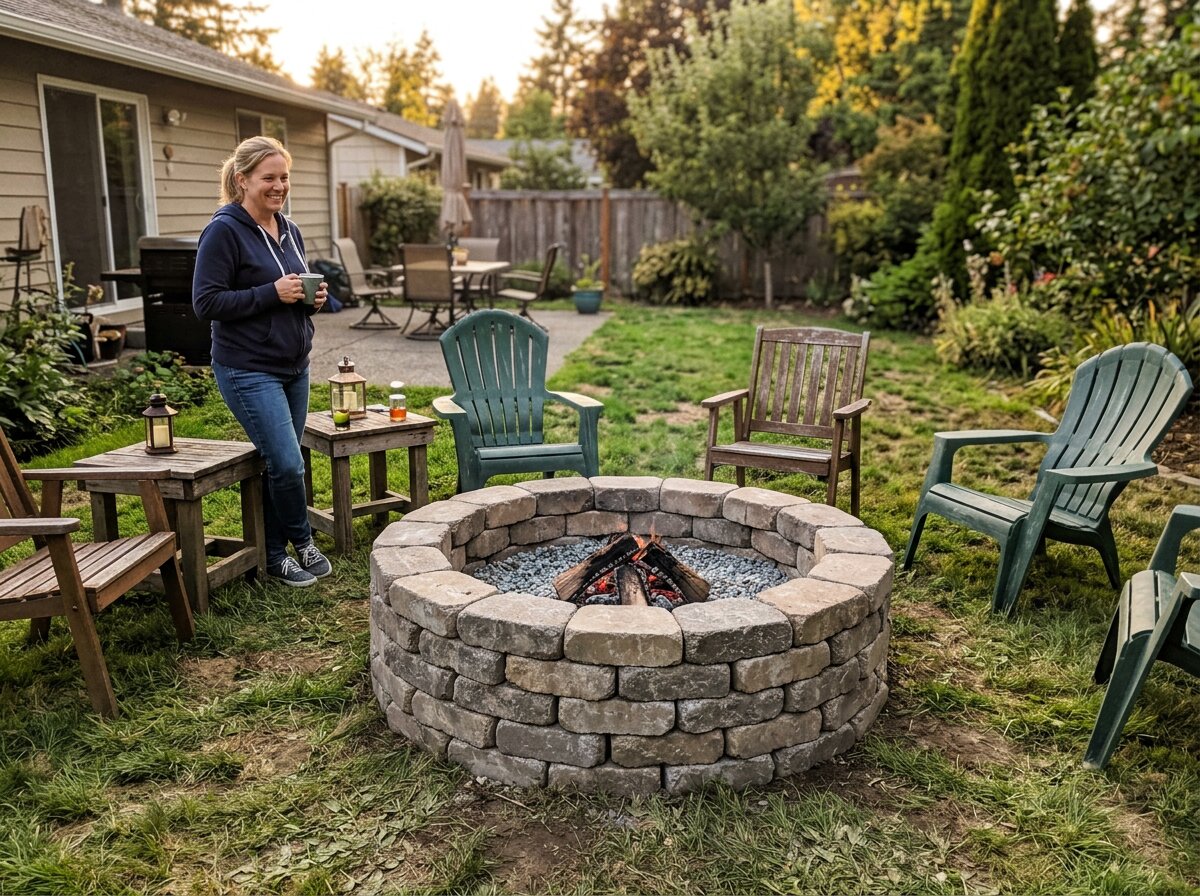
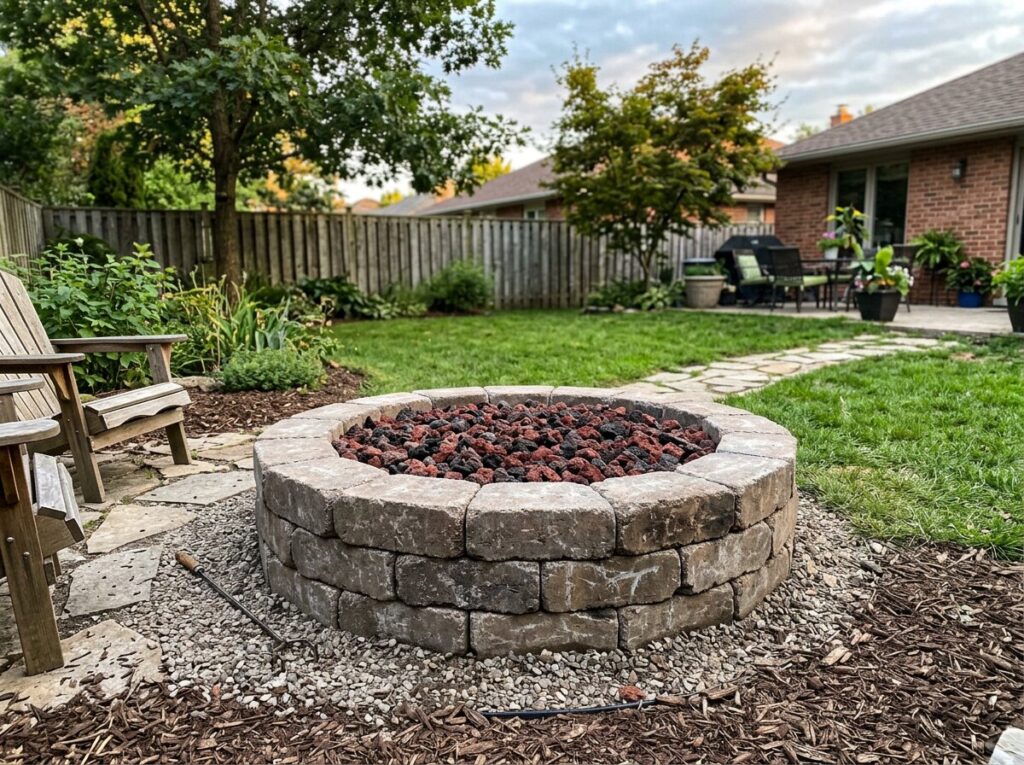
A fire pit with pavers is a ring of stacked, fire-rated concrete or stone pavers arranged in a circle to contain a backyard fire safely and attractively. Building one yourself is a straightforward weekend project that needs no mortar — the weight of the pavers and their interlocking shape hold the structure together — and it yields a permanent backyard feature for a fraction of the cost of a pre-built kit or hiring a mason. With the right location, a proper gravel base, fire-safe materials, and a methodical stacking approach, you can build a paver fire pit that looks professionally installed.
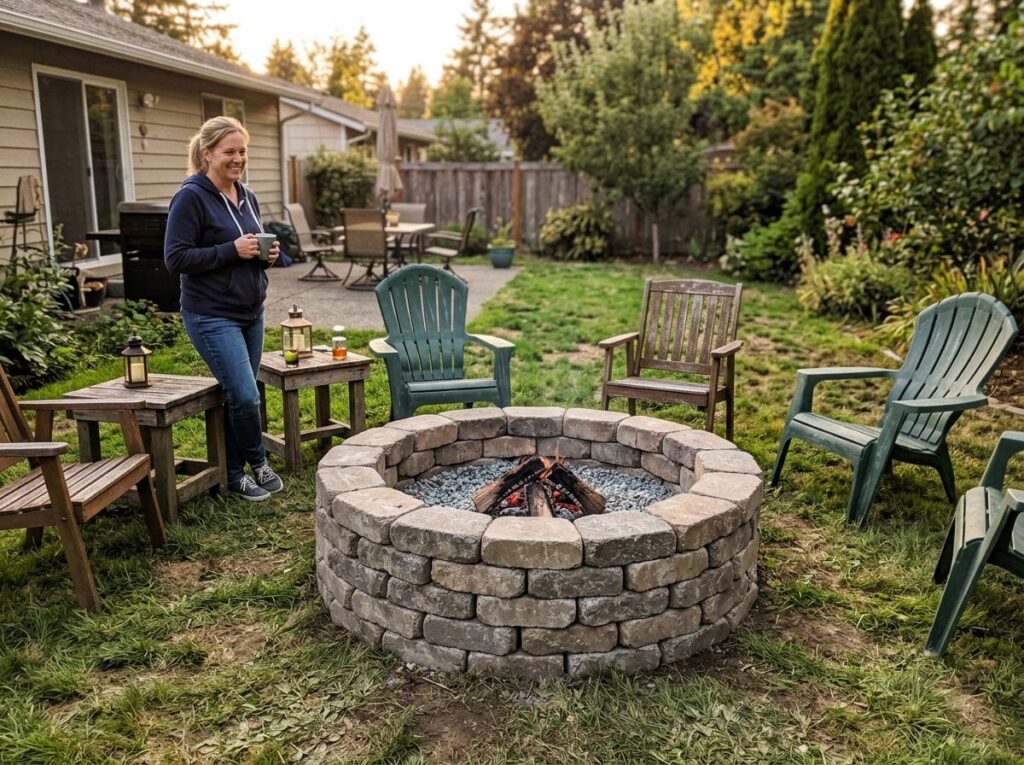
Why Build a Fire Pit with Pavers?
A fire pit extends your outdoor living season, creates a natural gathering spot, and adds value to your yard. Building with pavers specifically offers several advantages:
- No mortar required — Dry-stacked pavers use gravity and interlocking trapezoidal shapes to stay put.
- Modular and repairable — A cracked paver is swapped out in minutes.
- Customizable size and look — Choose the diameter, height, color, and stone texture.
- Budget-friendly — A DIY paver fire pit costs $200–$500 versus $1,500+ installed.
- DIY-friendly — The skills needed are basic: dig, level, and stack.
This guide walks you through choosing a safe location, prepping the base, laying the paver ring, stacking layers, selecting fire-safe materials, and optionally adding a gas burner kit for a no-smoke, instant-on fire pit.By the end, you’ll know exactly how to build a fire pit with pavers that lasts for years.
Materials & Tools Needed
- Fire pit paver kit or individual fire-rated pavers — Trapezoidal fire pit blocks interlock into a perfect ring.
- Fire pit burner kit (optional, for gas) — Stainless steel burner ring, gas line, and control valve.
- Gravel / crushed stone — 3/4-inch minus for the base; pea gravel or fire glass for the interior.
- Level — A torpedo level and a longer 2-foot level.
- Rubber mallet — For tapping pavers into place without chipping.
- Extras — Shovel, rake, wheelbarrow, tamper (or rent a plate compactor), tape measure, string line, stakes, landscaping fabric, masonry saw (rent for cuts), safety glasses, and work gloves.
Fire Pit Paver Kit vs. Individual Pavers vs. Natural Stone
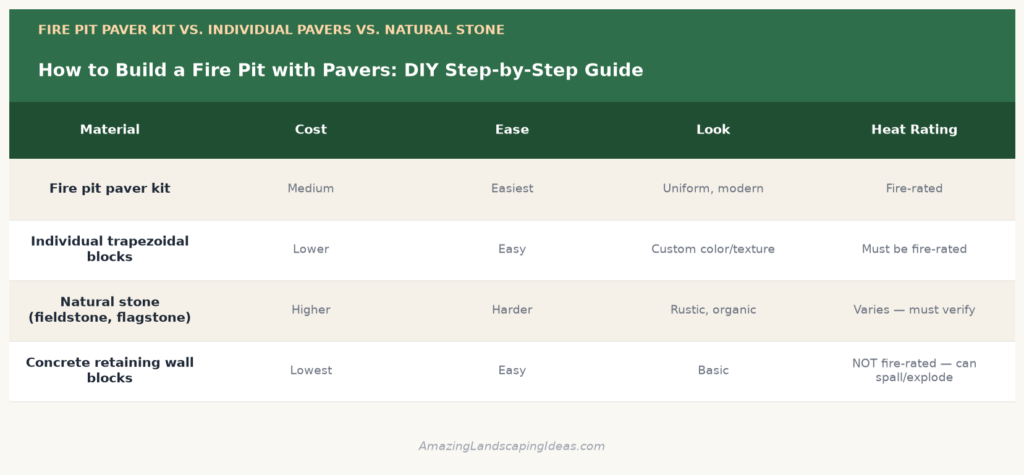
Critical: Only use pavers explicitly rated for fire pit use. Standard concrete retaining wall blocks trap moisture and can spall or explode when heated. Fire-rated pavers are fired at high temperature and resist thermal shock.
Step 1: Choose and Mark the Location
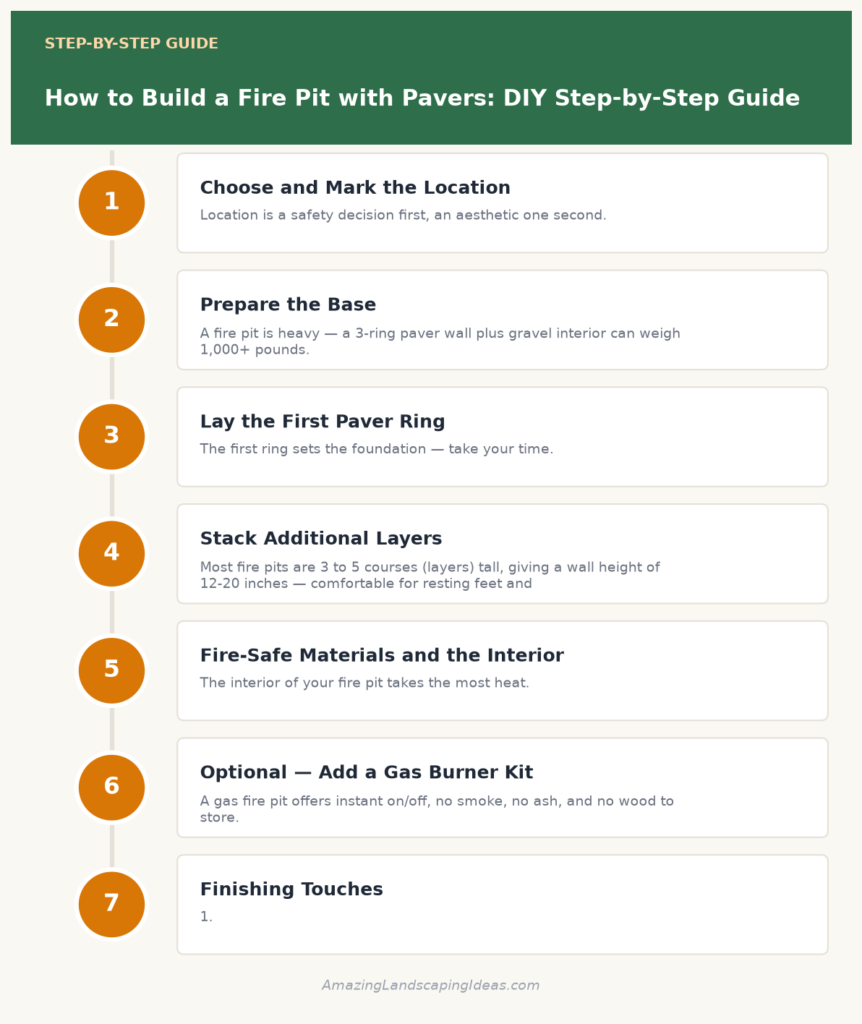
Location is a safety decision first, an aesthetic one second.
Safety Clearance Rules
- 10 feet minimum from any structure, fence, overhang, or combustible material.
- Clear overhead — No tree branches, awnings, or power lines above. A 21-foot vertical clearance is ideal.
- Flat, level ground — Avoid slopes; a level base prevents leaning pavers.
- Away from utilities — Call 811 before digging to mark underground lines, especially if adding a gas line.
- Wind exposure — A spot sheltered from prevailing winds reduces smoke blow-back.
- Local fire codes — Many municipalities ban open fire pits within 25 feet of a structure or require a permit. Check before you build.
- Surface — Build on dirt, gravel, or sand, never on a wood deck or combustible surface.
Determine Size
A fire pit’s inside diameter determines how big a fire you can build and how many people can gather:
- 24–30 inch inside diameter — Cozy; 2–4 people, smaller fires.
- 36 inch inside diameter — The standard; fits 4–6 people, a good fire size.
- 42–48 inch inside diameter — Large gathering; needs more fuel.
The outside diameter, including the paver wall, will be roughly 12–16 inches larger than the inside.
Mark the Layout
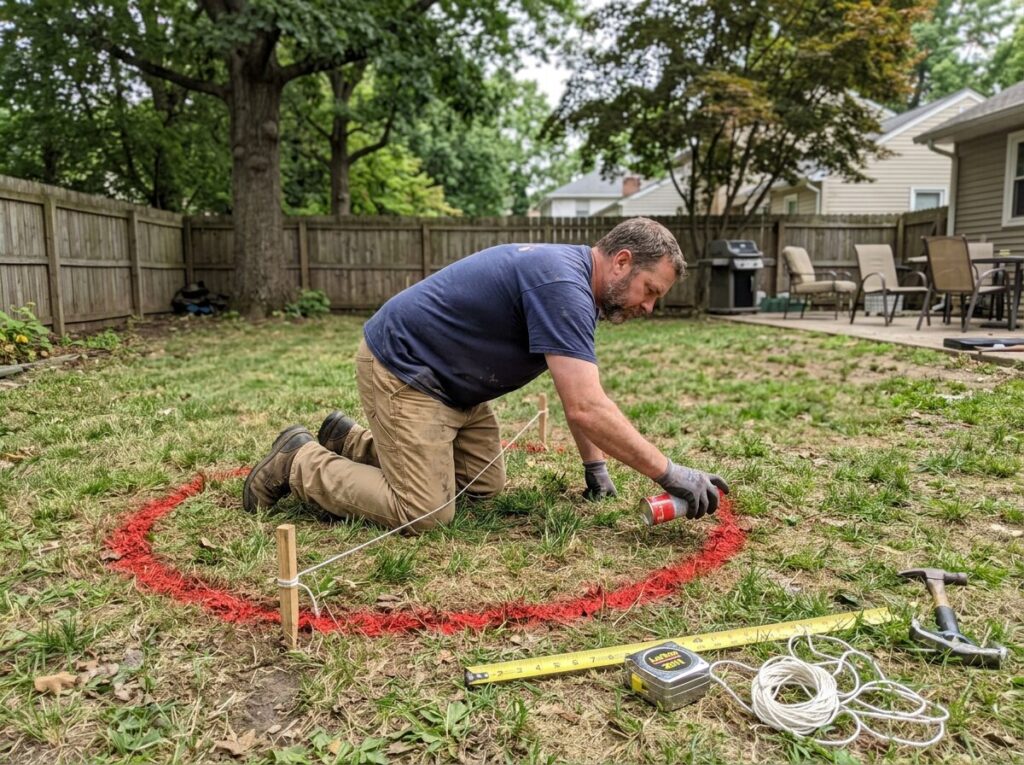
- Drive a stake at the exact center of your fire pit location.
- Tie a string to the stake equal to the outside radius (half the outside diameter).
- Walk the string in a circle, marking the ground with spray paint or flour.
- Repeat with a string at the inside radius to mark the inner edge of the paver ring.
Step 2: Prepare the Base
A fire pit is heavy — a 3-ring paver wall plus gravel interior can weigh 1,000+ pounds. A proper base keeps it from sinking and leaning.
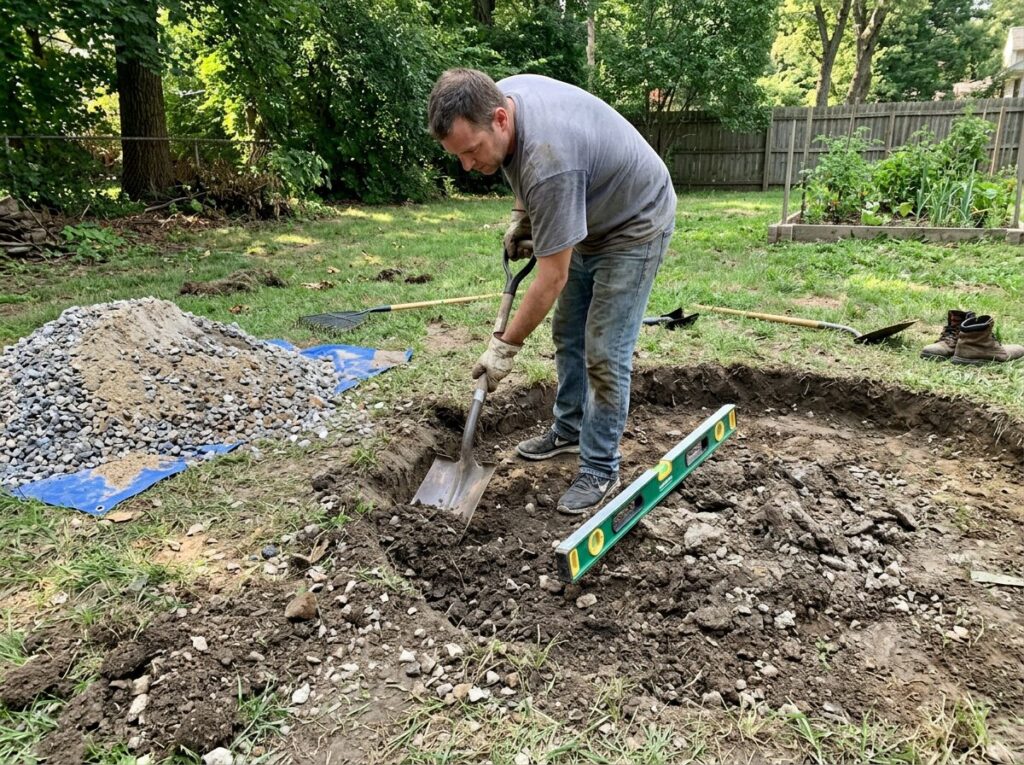
Excavate
- Dig out the marked circle to a depth of 6–8 inches, extending 6 inches beyond the outside of the paver ring.
- Remove all sod, roots, and organic material.
- Level the bottom of the excavation as you go — a flat base is everything.
Lay Landscape Fabric
- Cut a circle of heavy-duty landscape fabric to cover the excavated area.
- This prevents weeds and keeps the gravel from sinking into the soil.
Add and Compact the Gravel Base
- Pour 3–4 inches of 3/4-inch minus crushed gravel into the excavation.
- Spread evenly with a rake.
- Compact thoroughly with a hand tamper or plate compactor — 4–5 passes until the gravel feels solid and doesn’t shift underfoot.
- Check level across the entire base. Add or remove gravel as needed to achieve a perfectly flat surface.
- Add a 1-inch layer of bedding sand or fine gravel on top, screeded flat with a 2×4.
Step 3: Lay the First Paver Ring
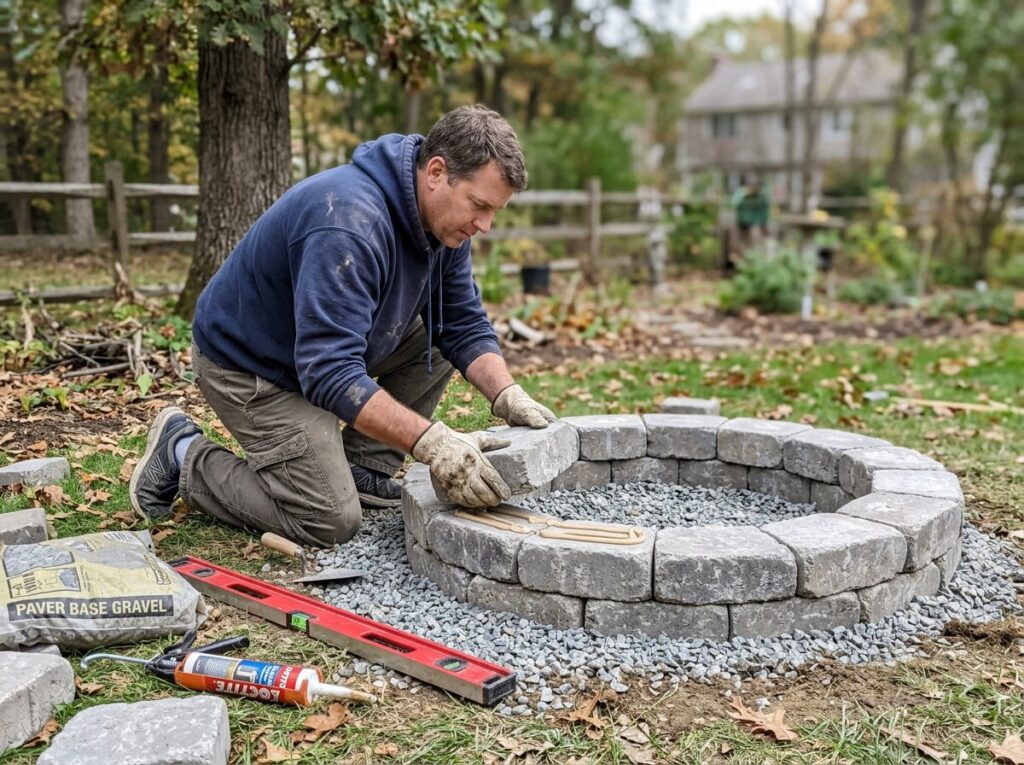
With the base compacted and level, you’re ready to lay the first ring of your fire pit with pavers.
The first ring sets the foundation — take your time.
- Sort your trapezoidal fire pit blocks and dry-fit them in a circle on the compacted base.
- Place the first block, then work around the ring, butting each block’s angled side against the next. The trapezoidal shape naturally forms a circle.
- Check that the ring closes perfectly — adjust block spacing slightly if there’s a gap or overlap.
- Use your level on each block, tapping high corners down with the rubber mallet and lifting low blocks to add a sprinkle of sand beneath.
- Check level across pairs of blocks as well — the entire first ring must be flat.
- Run a string from the center stake to verify each block sits at the correct radius.
If Using a Fire Pit Kit
Many kits include a metal fire ring insert that sits inside the paver wall. Place the insert now, centered, and build the paver ring around it. The insert protects the pavers from direct flame and extends their life.
Step 4: Stack Additional Layers
Most fire pits are 3 to 5 courses (layers) tall, giving a wall height of 12–20 inches — comfortable for resting feet and containing the fire.
- Stagger the joints — Offset each block in the second ring so it spans the joint between two blocks below it. This is called running bond and dramatically increases stability.
- Butt each block tight to the next and to the course below.
- Tap each block level with the rubber mallet as you go.
- Continue stacking to your desired height. 3 courses (12″) is the minimum for a functional fire pit; 4–5 courses (16–20″) feels more substantial and contains sparks better.
- Some kits include a lip or pin system that locks each course to the one below — use it if provided.
- For extra security in high-wind or active-kid areas, apply a bead of construction adhesive rated for masonry and high heat between courses. This is optional for dry-stack but adds rigidity.
Laying Pattern: Single Ring vs. Double Wall
- Single-ring (standard) — One block thick. Fastest, most common, and sufficient for wood fires.
- Double-wall — Two concentric rings with an air gap. Improves airflow for cleaner burning and protects the outer pavers from heat. More material, more effort.
Step 5: Fire-Safe Materials and the Interior
The interior of your fire pit takes the most heat. Protect it properly.
The Fire Bottom
- Never build a fire directly on bare ground or on the gravel base — the heat bakes the soil and the gravel can retain moisture and pop.
- Place a layer of fire-rated lava rock or fire glass 2–3 inches deep in the bottom of the fire pit.
- Alternatively, set a steel fire bowl or fire ring insert into the pit so flames never touch the pavers.
Fire-Safe Pavers
- Use only pavers labeled “fire-rated” or “fire pit blocks.”
- These are manufactured to withstand thermal cycling without spalling.
- Avoid standard concrete pavers, which contain moisture and can crack or explode when heated rapidly.
- Natural stone options like granite and basalt are generally fire-safe; sandstone and limestone are not — they hold water and can pop.
Adding a Fire Ring Insert
A steel fire ring insert — a short cylinder of heavy-gauge steel — sits just inside the paver wall. Benefits include:
- Shields pavers from direct flame, preventing premature deterioration.
- Contains the fire for a cleaner burn.
- Most kits are designed to fit a specific insert diameter — match the insert to your kit.
Step 6 (Optional): Add a Gas Burner Kit
A gas fire pit offers instant on/off, no smoke, no ash, and no wood to store. Here’s how to add one.
Choose a Burner Kit
- Stainless steel burner ring — an 18–24 inch diameter matches most paver fire pits.
- Match the burner BTU output to your pit size; 65,000–150,000 BTU is typical.
- Kits include the burner ring, gas line, control valve, and key/igniter.
Gas Source
- Propane (LP) — Self-contained tank; easier, no plumbing. Needs a vent in the fire pit base because propane is heavier than air and pools.
- Natural gas — Permanent plumbed line; lower cost per use, requires a licensed gas connection. Must be trenched from the house meter.
Installation Steps
- Run the gas line before laying the interior fill. For natural gas, trench from the meter to the fire pit; call 811 first and consider hiring a pro for the gas connection.
- Install the burner ring centered in the pit, mounted just below the top of the paver wall.
- Connect the gas line to the burner per the kit instructions. Use a licensed gas fitter for the connection if you’re not experienced — gas leaks are dangerous.
- Add fire glass or lava rock over the burner to the top of the ring. Fire glass reflects light and looks striking; lava rock is cheaper and hides the burner.
- Install the control valve in the paver wall or on a nearby post.
- Test for leaks with soapy water at every connection before lighting.
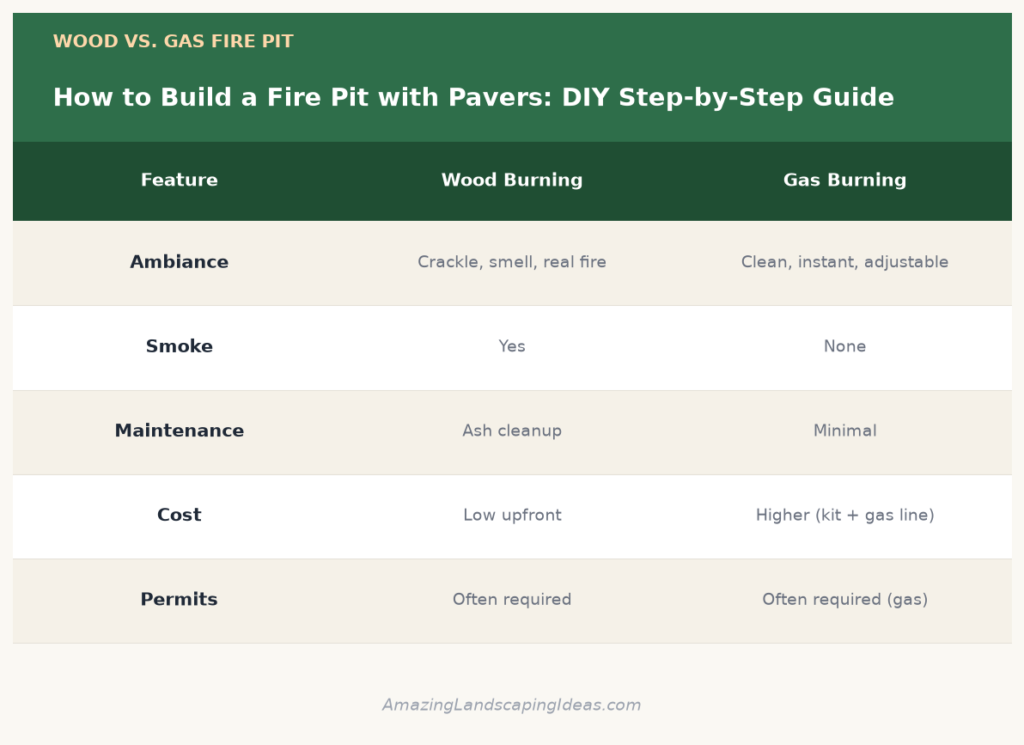
Wood vs. Gas Fire Pit
Both options have merits. Wood delivers crackle, aroma, and a real fire but requires ash cleanup; gas is clean, instant, and adjustable but costs more upfront and often needs a permit for the gas line. The comparison below breaks down the differences.
Step 7: Finishing Touches
- Backfill around the outside of the fire pit with soil or gravel to blend it into the yard.
- Add a surrounding patio of gravel, pavers, or flagstone for a 3–4 foot non-combustible perimeter.
- Seating — Place chairs or built-in benches 3–4 feet from the fire pit edge for comfort and safety.
- Optional cover — A metal lid lets you use the pit as a table when not in use.
- Spark screen — A mesh dome contains embers on breezy nights.
Climate and Seasonal Notes
- Dry climates (Southwest) — Fire danger is high; keep water or a fire extinguisher nearby and respect burn bans.
- Humid climates (Southeast) — Cover the pit when not in use to prevent water pooling and mosquito breeding in the base.
- Snowy climates (North) — Drain any gas line before winter and cover the pit; freeze-thaw won’t harm fire-rated pavers but can crack a moisture-filled steel insert.
- Wind-exposed yards — Build a windbreak or choose a sheltered location; consider a taller wall (5 courses) to block gusts.
When to Call a Pro
Building a fire pit with pavers is one of the most approachable DIY hardscape projects, but a few situations warrant professional help:
- You want a natural gas line run from the house — gas plumbing should be done by a licensed professional.
- The site has poor drainage, a high water table, or expansive clay soil — base prep gets complicated and the pit may sink.
- You want a custom shape (square, octagonal, a built-in seating wall, or a multi-level design) — the layout and cutting are more involved.
- Your local fire code or HOA requires a specific setback, liner, or inspection you’re unsure how to meet.
- You need electrical run for lighting or a blower near the pit.
Not feeling confident? Local partners can complete this job quickly and professionally. Find a Local Pro.
Final Thoughts
A fire pit with pavers is a perfect DIY project: dramatic results, a manageable skill level, and a feature you’ll use for years. The keys to success are simple — choose a safe location with proper clearance, build a level compacted base, use fire-rated pavers only, stagger the joints as you stack, and protect the interior with lava rock or a steel insert. Add a gas burner kit if you want smoke-free convenience, or keep it traditional with wood for that crackling campfire feel. Take your time on the base and first ring — everything stacks on top of them. Build it on a clear weekend, let it cure if you’ve used adhesive, and you’ll be gathered around your own backyard fire pit by nightfall.
Leave a Reply